
 on Your iPhone or iPad")
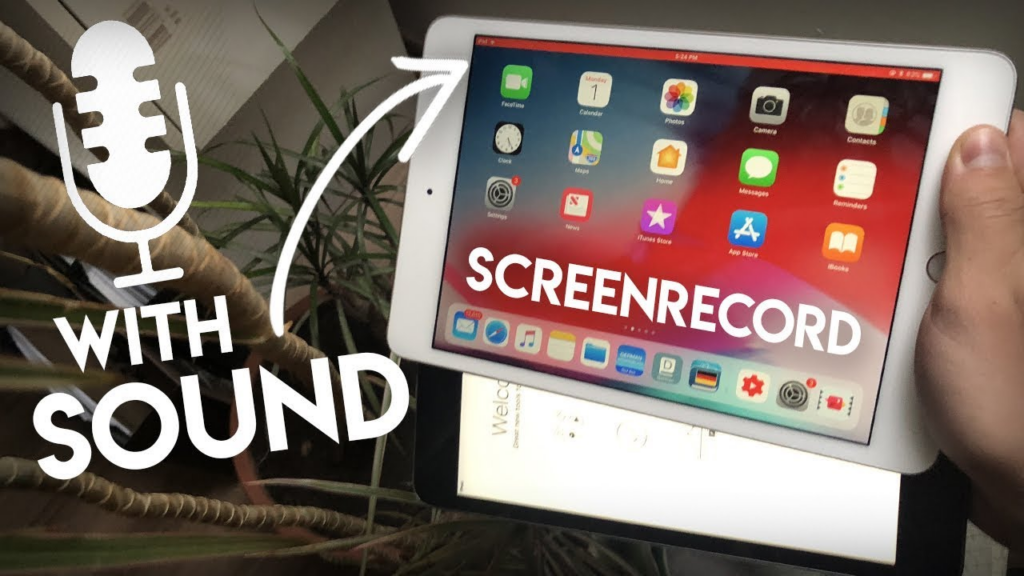
Screen recording on an iPhone is a built-in feature that allows you to capture exactly what’s happening on your screen, with or without sound. Whether you’re making a tutorial, saving gameplay, or troubleshooting an app, this feature is incredibly useful. Here’s a step-by-step guide on how to record your screen along with sound on your iPhone or iPad.
Enable Screen Recording
Before you can start recording, make sure the screen recording feature is accessible from your Control Center.
- Open Settings on your iPhone or iPad.
- Tap Control Center.
- Scroll down and tap the + (plus) icon next to Screen Recording to add it to your Control Center.
Start a Screen Recording
Once the feature is enabled, follow these steps to start recording:
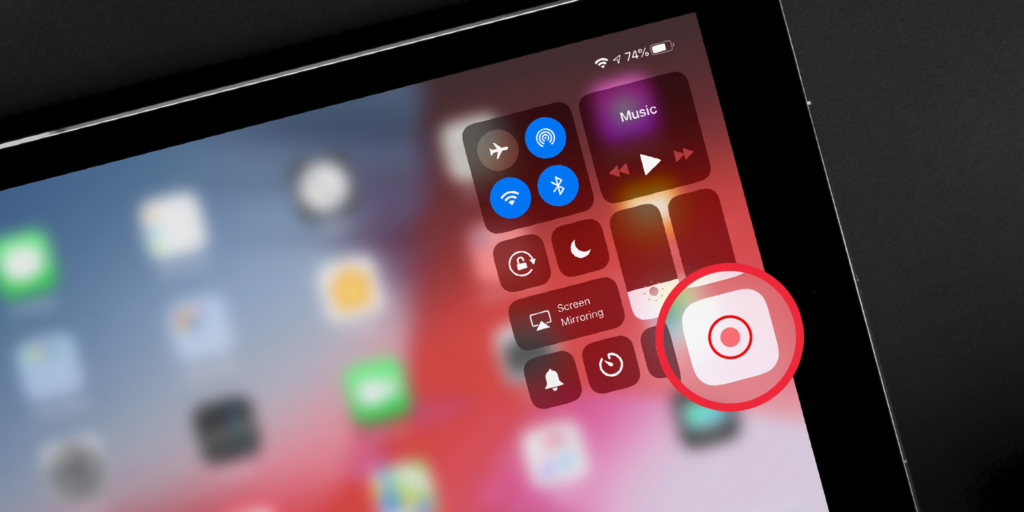
- Swipe down from the top-right corner of your screen (on iPhone X or later and iPad with iOS 12 or later) or swipe up from the bottom of the screen (on iPhone 8 or earlier).
- Tap the Record button (a circle inside another circle).
- If you want to record sound along with the screen:
- Press and hold the Record button.
- Tap the Microphone icon to turn on audio recording.
- Tap Start Recording.
- A three-second countdown will appear, and the recording will begin.
- Your screen recording will capture everything displayed on your device, including app interactions and notifications.
Stop a Screen Recording
To stop recording:
- Open the Control Center and tap the Record button again.
- Alternatively, tap the red status bar at the top of your screen, then select Stop.
Your recording will automatically be saved to the Photos app under Videos.
Edit and Share Your Screen Recording
After recording, you can easily edit and share the video:
- Open the Photos app.
- Find your screen recording video.
- Tap Edit to trim the video or adjust the length.
- Tap the Share icon to send the recording via messages, email, social media, or cloud services.
Tips for Better Screen Recordings
- Enable Do Not Disturb mode to avoid notifications popping up during your recording.
- Lock screen orientation if you’re recording in landscape mode.
- Use external microphones for higher-quality audio if necessary.
By following these steps, you’ll be able to easily capture and share your iPhone or iPad screen recordings with sound. Whether for work, school, or fun, screen recording is a powerful tool at your fingertips.